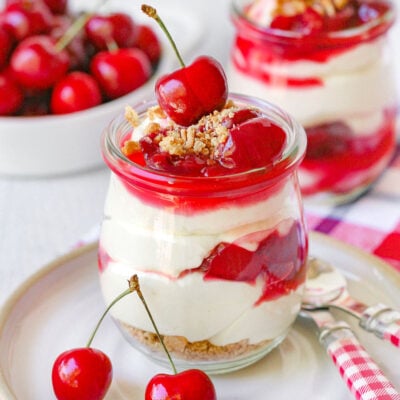
This delicious No Bake Cherry Cheesecake recipe is the perfect cool and creamy summer treat! Enjoy sweet and juicy cherry filling, smooth and creamy no bake cheesecake and everyone’s favorite graham cracker crust! Assemble in small containers or one large trifle for a party. You can make elements of this recipe ahead of time, or enjoy it right away. Happy no-baking!
If you’re interested in making some more no bake desserts, try these No Bake Cookies, the infamous Magnolia Bakery Banana Pudding or sweet Cannoli Dip!

No Bake Cherry Cheesecake
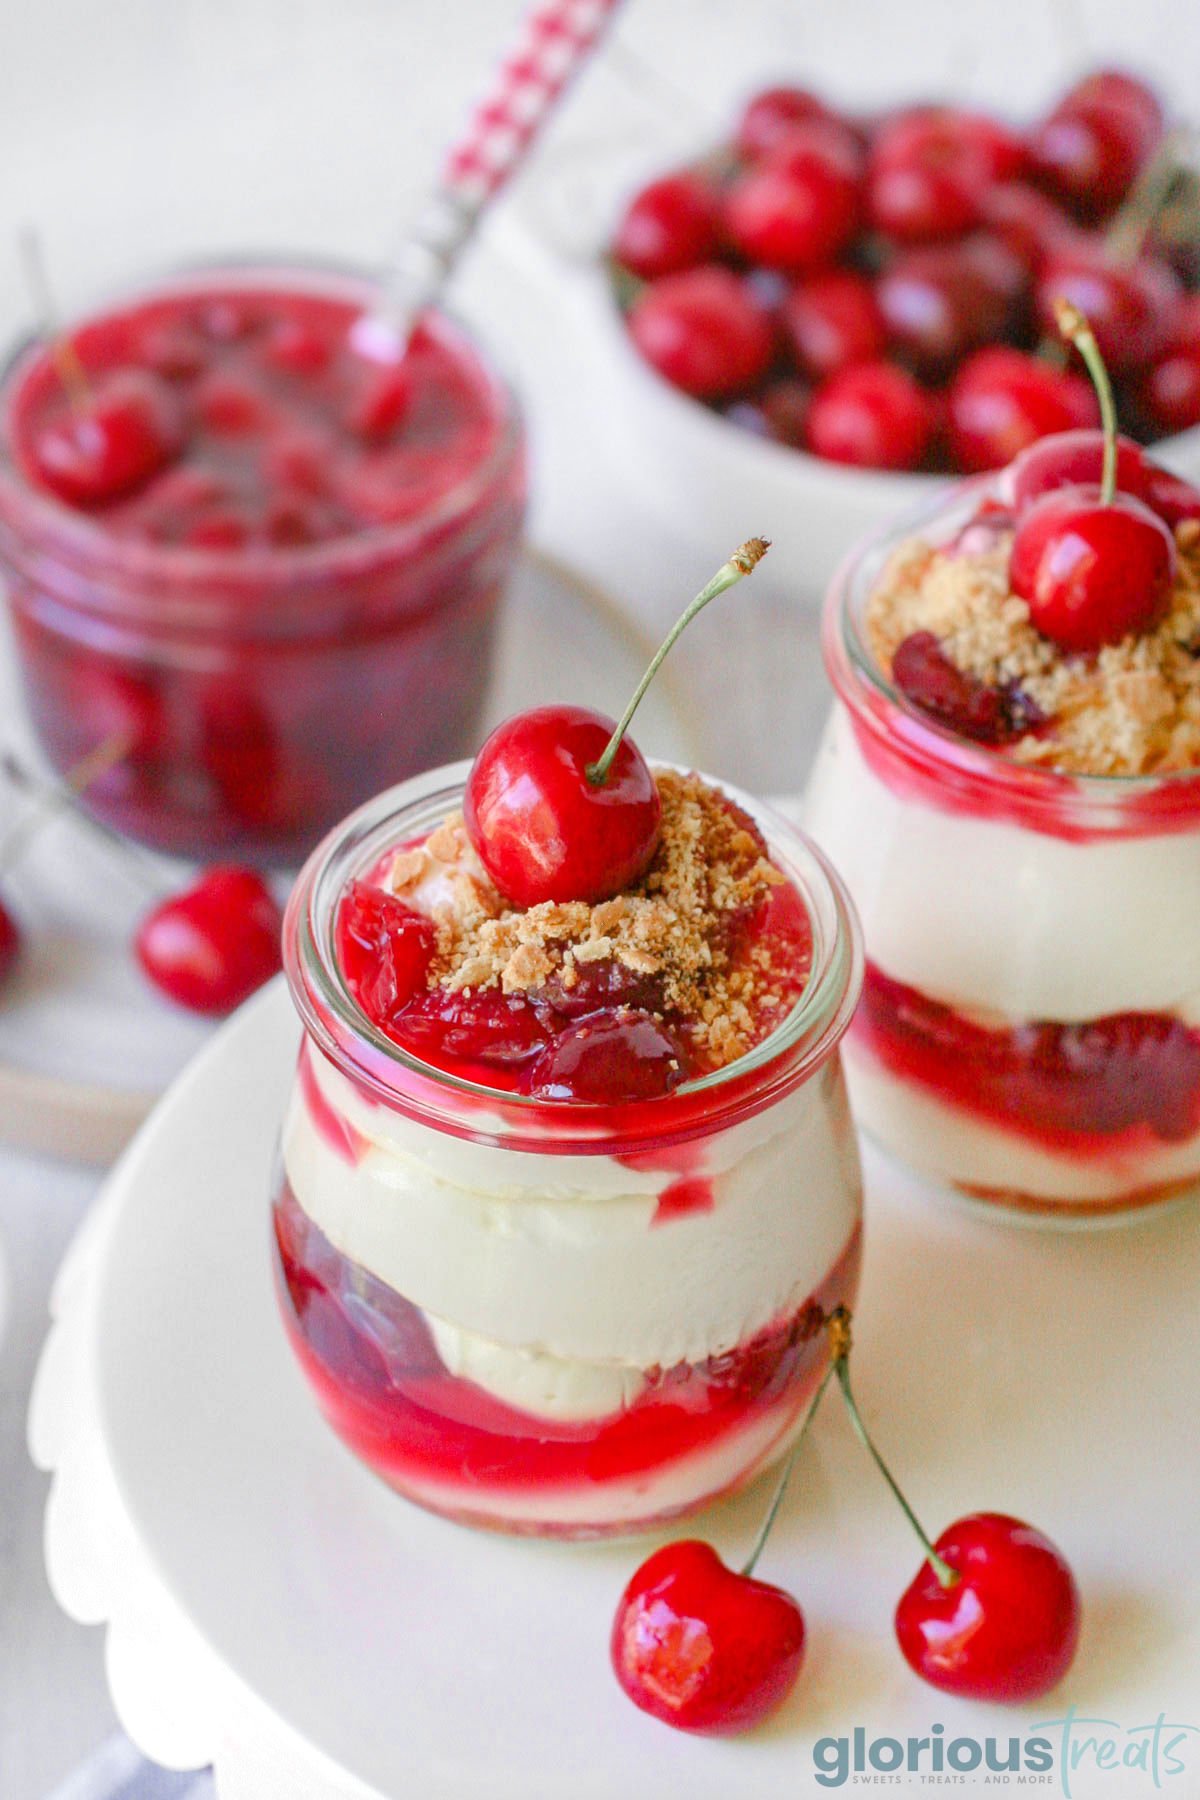
This delicious no bake cherry cheesecake recipe is the ultimate summer treat! It’s layered with fluffy cheesecake, fruity cherry filling, and crunchy graham cracker crust. This dessert is cool and creamy without even having to turn on the oven.
Plus, this is a perfect make-ahead dessert since you can prep the cherry filling and cheesecake portions in advance. Just layer them together when you’re ready to go, and you’ll be enjoying this treat in minutes!
Recipe Notes:
The cheesecake filling as listed will be enough for 4-6 small dessert servings, so you will have plenty of cherry filling left over! You can either use the cherry filling in other ways (check out my suggestions below!) or double the cheesecake portion for a larger gathering.
Why You’ll Love This Recipe
- It’s delicious! I mean, this is a mouthwatering cherry cheesecake made all the sweeter by not having to bake it! Every bite is full of fruity cherry, creamy cheesecake, and crunchy graham cracker layers.
- It’s a great portion! Sometimes our eyes are bigger than our appetites and we wind up wasting a good portion of dessert that we could’ve saved for later. This dessert eliminates that issue because it’s already portioned so perfectly. (Then you can go back for seconds if you want!)
- So many versatile flavor options! You can keep the cheesecake and graham cracker portions of this recipe pretty much the same and then make it with a different fruit, lemon curd, chocolate ganache, etc. It’s a super versatile recipe that’s easy to adjust for your tastebuds.
Love Cherries? Makes sure to try my Black Forest Cheesecake, Cherry Crumble in a Jar and Heart Shaped Cherry Cake!
How To Make No Bake Cherry Cheesecake
There are three main steps to this recipe – make the cherry filling, make the cheesecake portion, and then put them together. This recipe is quite easy to make, comes together in under an hour (most of that is chilling time) and it’s so perfect for summer! Below I’ll share more details in each step, but keep in mind, the whole recipe is in the complete printable recipe card below.
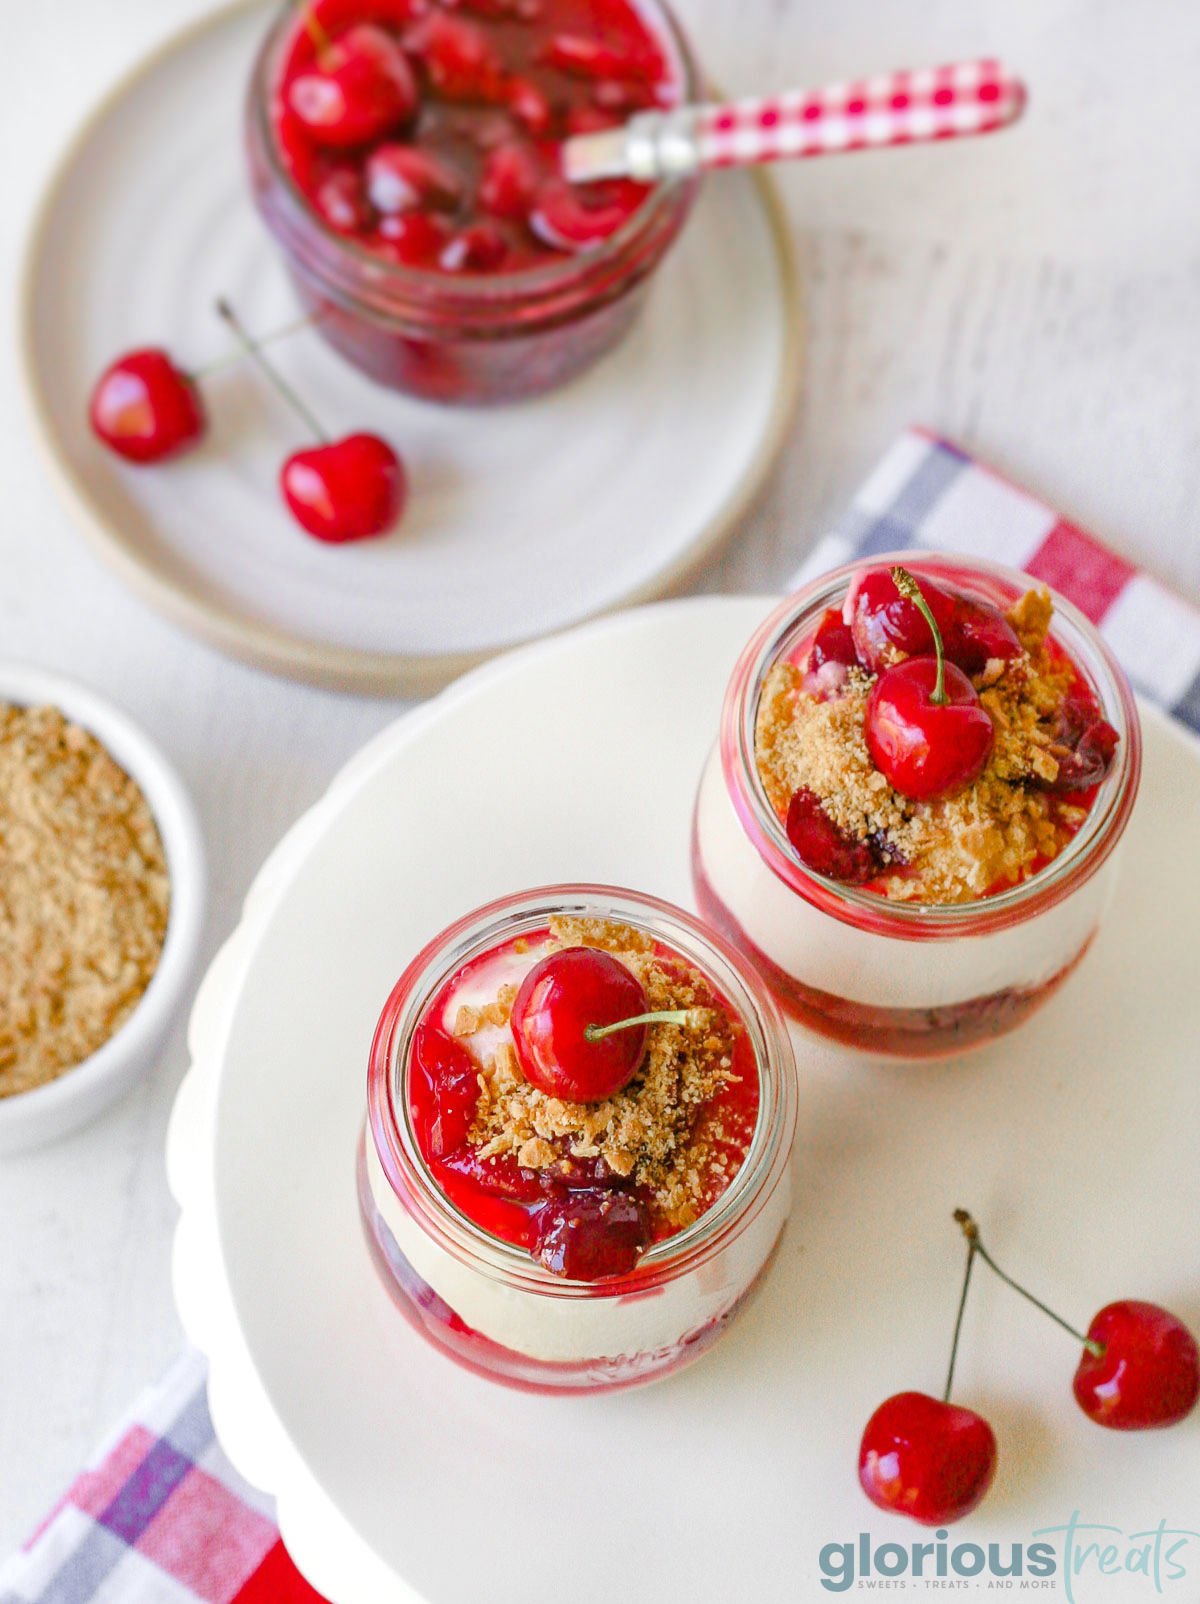
- Add a spoonful of graham cracker crumbs to the bottom of each dish.
- Top with a layer of cheesecake filling.
- Add a layer of the cooled cherry filling.
- Add a second layer of cheesecake.
- Top with cherry filling and some graham cracker crumbs for garnish.
- Serve immediately, or refrigerate completed desserts for up to 4 hours. Enjoy!
Note: For neat assembly, you may want to add the prepared cheesecake filling to a large piping bag, or a large ziplock-type bag with a corner cut-off.
Why is my no bake cheesecake not firm?
Keep in mind this is no bake cheesecake meaning the texture will not be as firm as a baked cheesecake. It’s softer, spoonable, and fluffier. Make sure the cream cheese is room temperature (not warm, not cold), and the whipping cream is ice cold! Once you have the temperature right and you’ve mixed it all up, let it rest and firm up in the refrigerator for a couple of hours or overnight.
Is baked or no-bake cheesecake better?
It’s really a matter of preference! Both are delicious, but they do differ in density. My thought process is simple: If you aren’t in the mood to bake a cheesecake – no bake is better! But, if you’re going to luxuriate in the process of making a cheesecake, make this cheesecake instead!
What can I do with leftover cherry filling?
So many things! It’s perfect for topping pancakes, waffles or this chocolate ice cream! (Think Black Forest Ice Cream!) Enjoy on top of a yogurt parfait with some granola too!
Storage Information
- Refrigerator: Store in the fridge for up to 4 hours, covered. If you’re not serving them right away and opt to store them in the fridge for a few hours, omit the graham cracker crumb topping until just before serving.
- Make Ahead: You can make the cherry filling and store it in the fridge in a sealed container for up to a week, and the cheesecake portion can set in the fridge (covered) for a day.
Variations To Try
The beauty of this no bake cheesecake recipe is how flexible it is! You can do so many different things with it when it comes to flavors, toppings, etc.
- Add lemon or orange zest to the cream cheese for a citrus flavor. Either use the cherries as listed or top your cheesecake with orange slices.
- Use different toppings! You can use crunched up candy, chocolate drizzle, caramel sauce, chopped nuts, Nutella and more.
- Add a layer of chocolate ganache to your cheesecake!
- Instead of graham crackers, crumble Oreos, Lorna dunes, or biscoff cookies.
- Use a different fruit like a banana, or get creative and make it a different kind of cheesecake entirely. Make it your favorite dessert flavor, whether it’s key lime, strawberry rhubarb, Boston creme, or anything in between.
- Make a full-size version of this recipe!
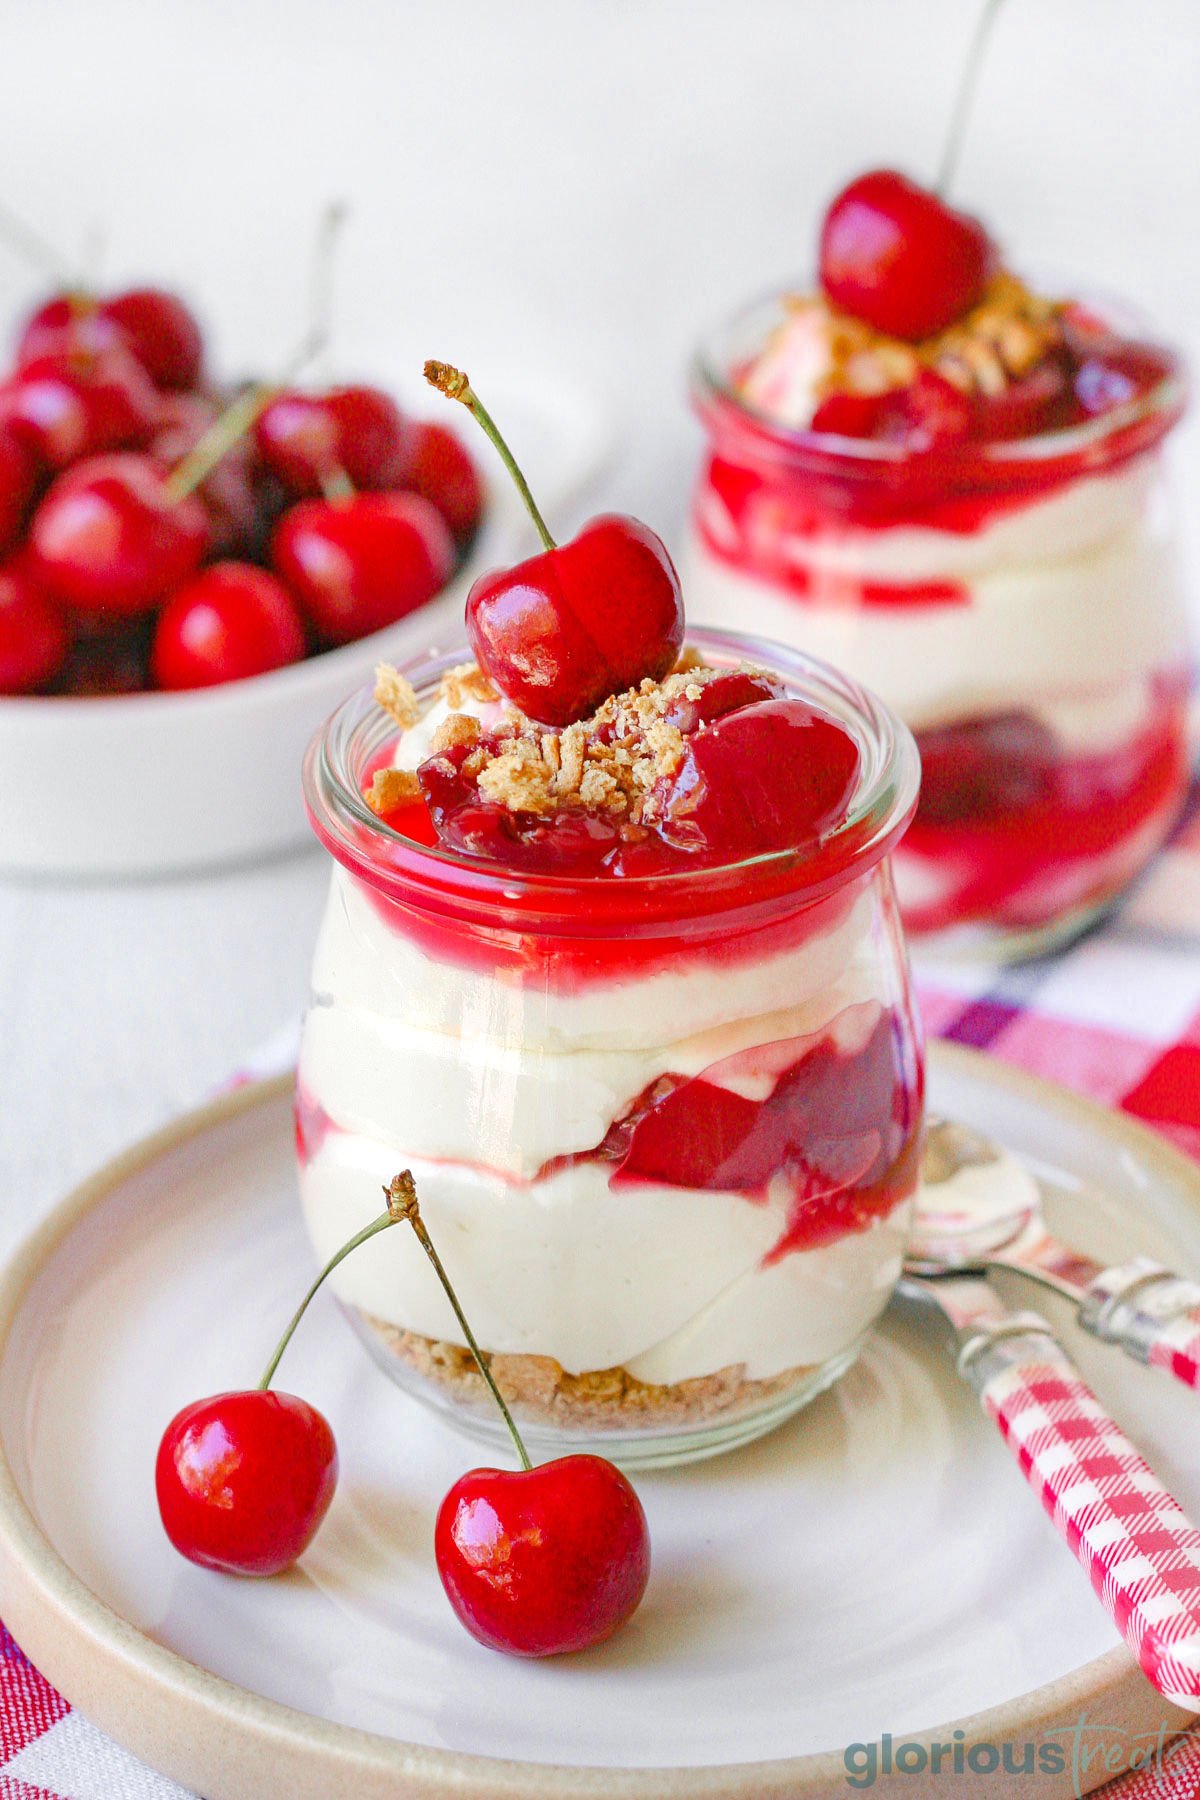
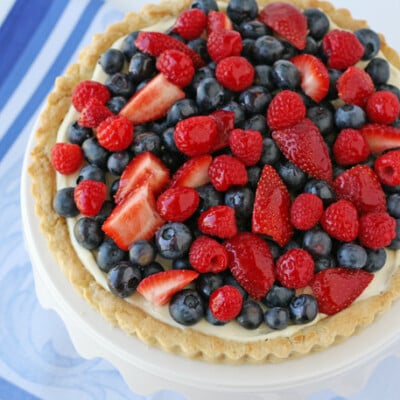
I loved highlighting cherries in this recipe, but feel free to swap out the cherries for fresh blueberries without needing to make any other changes.
Trish’s Tips
- Use room-temperature cream cheese so it’s easier to whip.
- On the other hand, use very cold whipping cream! The colder your whipping cream, the fluffier it’ll get.
- Make the cheesecake portion of the recipe a few hours before (or the night before) serving so it has time to firm up. If you eat it immediately, it’ll have a fluffier texture.
- Only add the graham cracker crumbs or any other toppings right before serving, otherwise they’ll get soggy.
- Make these desserts in cupcake tins for even smaller versions (plus, there’s less cleanup)!

More Cheesecake Recipes To Try
- Kahlua Cheesecake
- Mango Lime Cheesecake
- Key Lime Cheesecake
- Perfect Cheesecake
- Caramel Apple Cheesecake
No Bake Cherry Cheesecake
Ingredients
Cherry Filling
- 2 cups cherries fresh or frozen, pitted and cut in half
- ½ cup water
- 2 tablespoons lemon juice fresh
- ½ cup granulated sugar
- 1 tablespoon corn starch
Cheesecake Layer
- 1 cup heavy whipping cream
- ¾ cup powdered sugar divided
- 8 ounces cream cheese 1 block
- 1 teaspoon vanilla extract
- 5 graham crackers full sized, crushed
Instructions
Prepare the cherry filling
- Wash and pit cherries, then cut in half (and then measure).2 cups cherries
- In a medium sized saucepan, add water and lemon juice and warm over medium heat.½ cup water, 2 tablespoons lemon juice
- In a small bowl, stir together the sugar and cornstarch with a whisk. Then, add the sugar and starch to the warm pan of liquid and stir (with a whisk) to combine. Cook 1-2 minutes.½ cup granulated sugar, 1 tablespoon corn starch
- Add cherries and continue to cook, while stirring gently, until the sauce thickens.
- Remove pan from heat and allow sauce to cool. To aid in cooling, pour the partially cooled sauce into a bowl and move to the fridge.
- The sauce can be stored in the fridge (in a jar or sealed container) up to 1 week.
Prepare the cheesecake
- Chill your mixing bowl and beaters by placing in the freezer for 5-10 minutes (this helps the whipped cream whip up faster).
- Add the heavy whipping cream to the chilled mixing bowl and beat until it begins to thicken.1 cup heavy whipping cream
- While mixing, slowly add 1/4 cup powdered sugar. Continue to beat until the mixture is thickened and holds a stiff peak. Do not over beat or it will become overly thick an clumpy. Scoop the whipped cream into a bowl and put in the fridge.¾ cup powdered sugar
- In the empty mixing bowl (no need to wash), add cream cheese and beat until smooth. Continue mixing and add the remaining (1/2 cup) powdered sugar, and the vanilla extract.8 ounces cream cheese, 1 teaspoon vanilla extract
- Stop mixing and add a large scoop of the prepared whipped cream into the bowl. Blend on low speed to incorporate. Add remaining whipped cream and blend gently, just until fully combined.
- Use immediately, or cover and keep in the fridge for up to 1 day.
Assemble the desserts
- Add a spoonful of graham cracker crumbs to the bottom of each dish.5 graham crackers
- Top with a layer of cheesecake filling. For neat assembly, you may want to add the prepared cheesecake filling to a large piping bag, or large ziplock type bag with a corner cut off.
- Add a layer of cherry filling. Be sure the filling is cool. Do not begin dessert assembly until the filling is cool.
- Add a second layer of cheesecake.
- Top with cherry filling and some graham cracker crumbs for garnish.
- Serve immediately, or refrigerate completed desserts for up to 4 hours. If you’re not serving the desserts right away, omit the top graham cracker crumbs until just before serving.
Notes
The cheesecake filling as listed will be enough for 4-6 small dessert servings. You will have plenty of cherry filling left over. Feel free to double the cheesecake portion for a larger gathering, and you can keep the cherry filling amounts as listed. Leftover cherry filling is perfect for topping pancakes, waffles or vanilla ice cream.
Equipment Needed (affiliate links): Electric Mixer (Hand Mixer or Stand Mixer) | Glass Mixing Bowls | Whisk | Weck Jars
I prepared this dessert in pretty Weck Jars (available on Amazon), but feel free to use any small jars or dishes you like.
Please see post above for more information, recipe tips and frequently asked questions.
Nutrition
Originally published June 17, 2019.
I love no bake desserts! I haven’t had a fully functioning oven in over two years so they are my saving grace! Might try these 🙂