


Treats In Your Inbox
Glorious treats straight to your inbox when you subscribe!
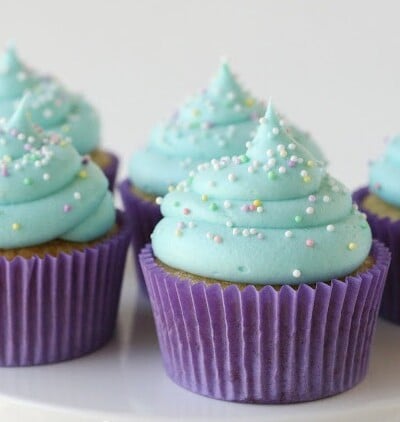
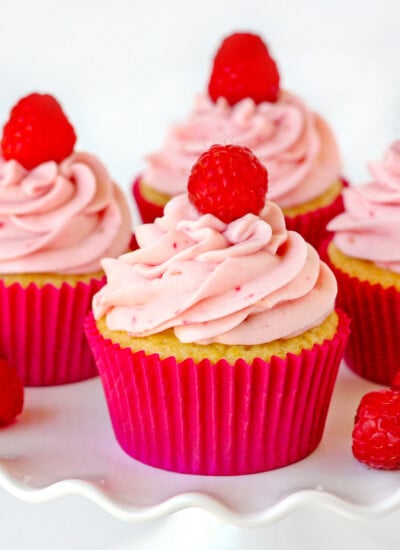
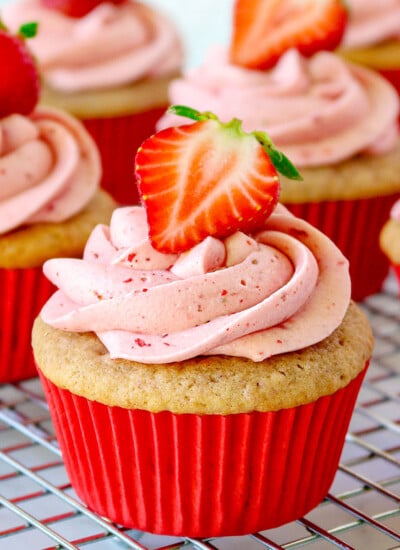
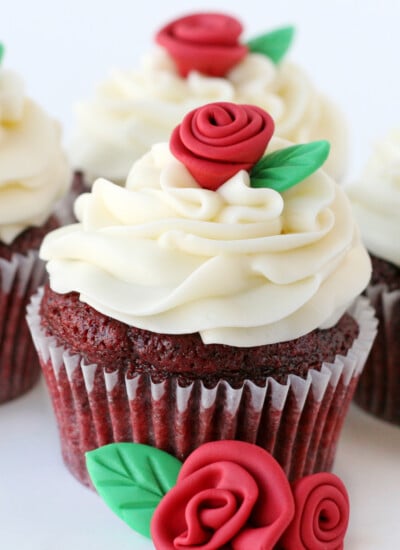
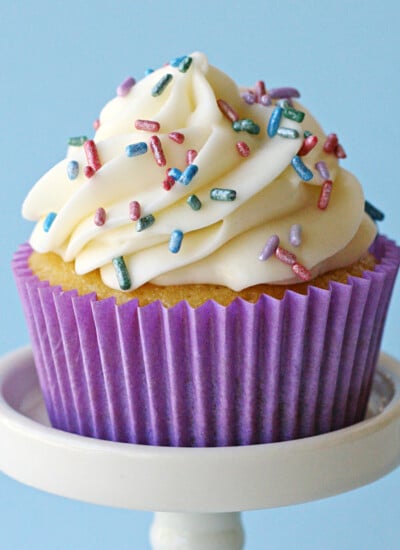
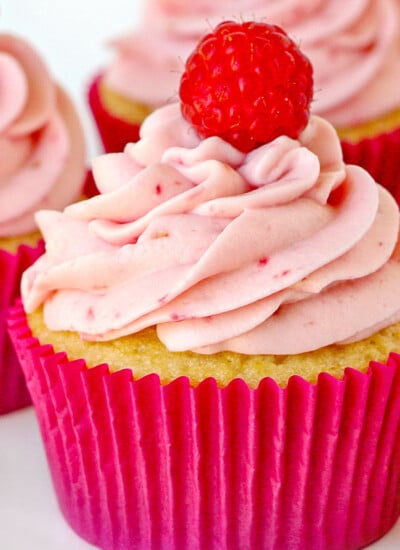
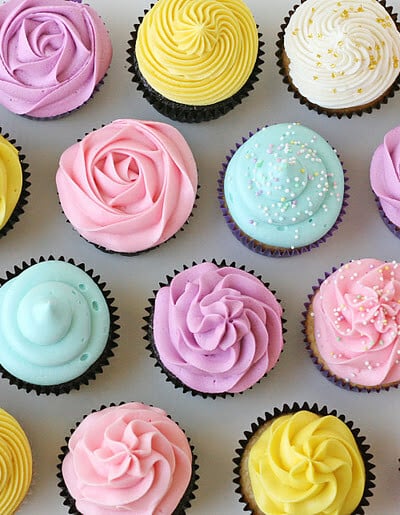
Cupcake Favorites
Everybody loves cupcakes! Truly perfect for any occasion or holiday. Easier to make and eat than a full size cake, cupcakes are truly the perfect treat and are sure to satisfy your sweet tooth. Great for parties, potlucks, birthdays and more! Check out all our amazing cupcake recipes!
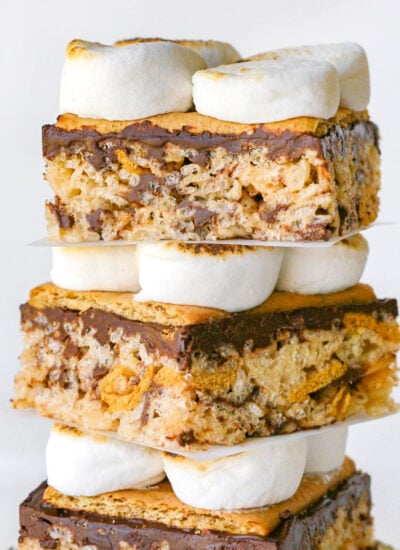
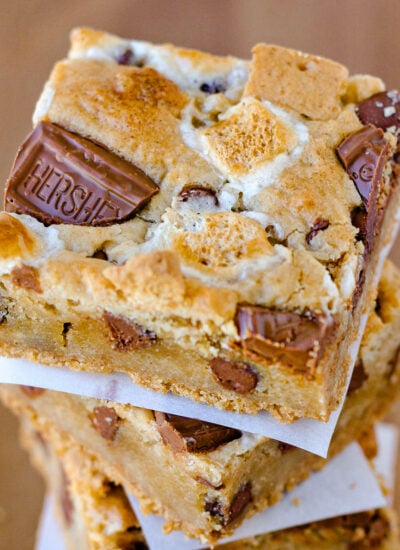
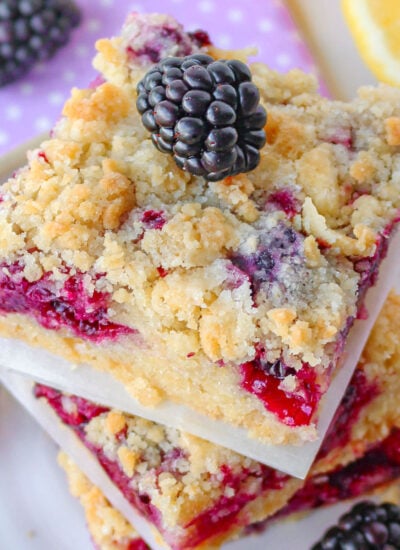
Brownies and Bars
Brownies and bars are my favorite dessert to make for a crowd. Simple to make and even easier to eat! Beautiful stacked on your favorite dessert tray or cake stand, these easy desserts are meant for family gatherings and special occasions. Enjoy!
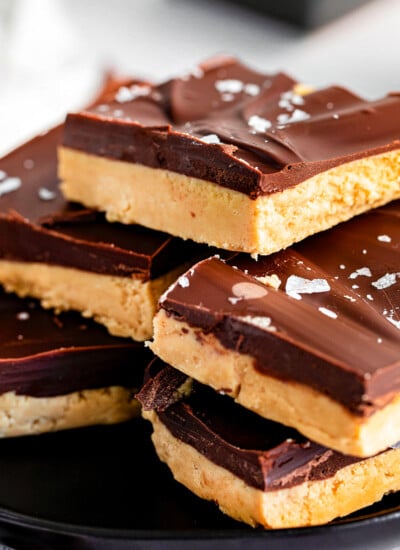
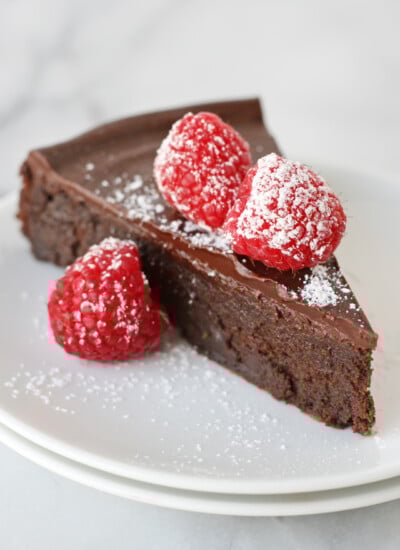
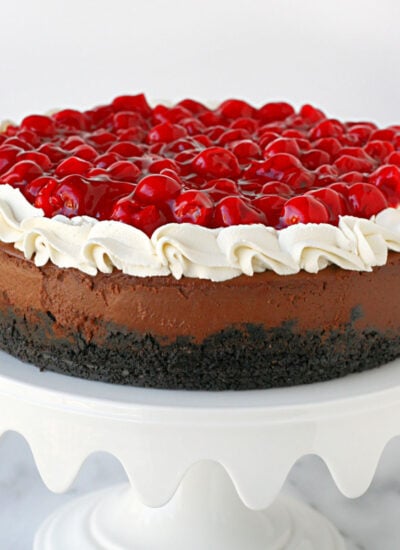
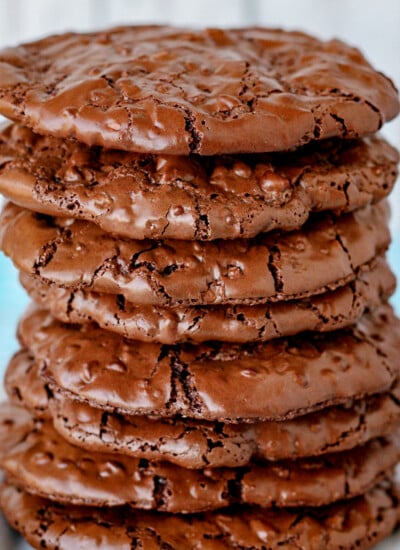
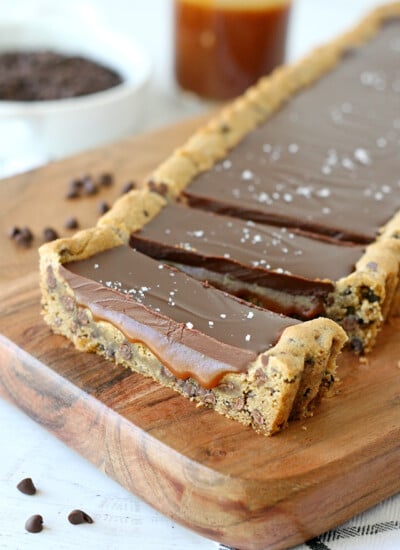
Chocolate, Chocolate, Chocolate
Love chocolate desserts? You’ve come to the right place. There is simply nothing more decadent than a rich chocolate dessert. Brownies, cake, cupcakes, cookies – you name it, we’ve got it! I know you’ll find just the chocolate dessert recipe you’re looking for!
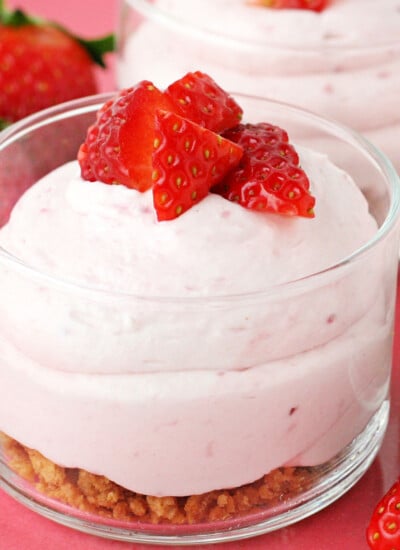
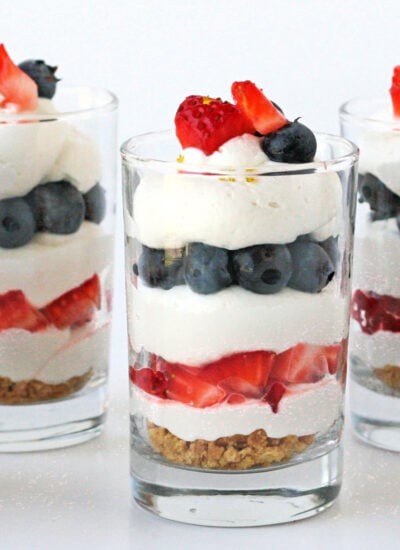
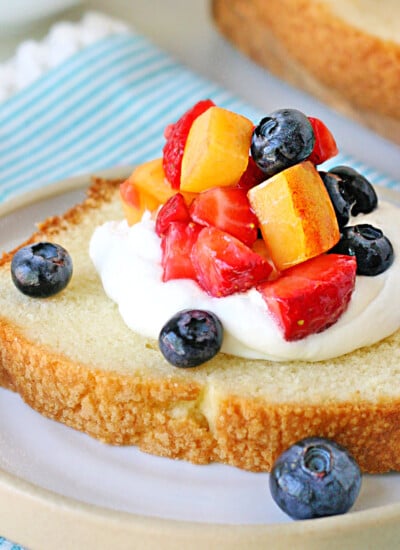
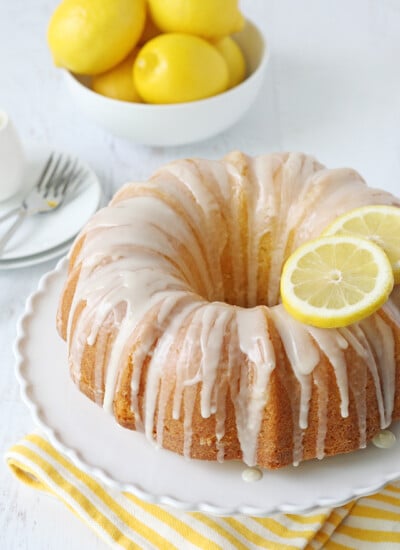
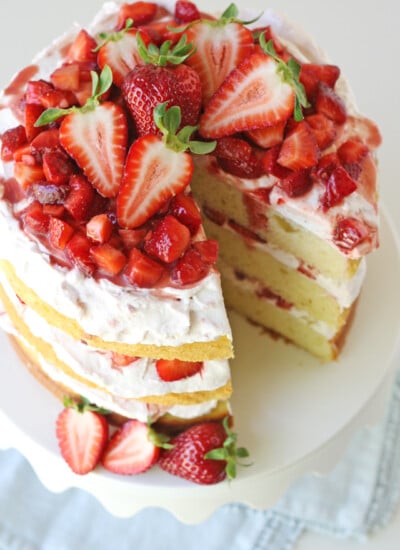
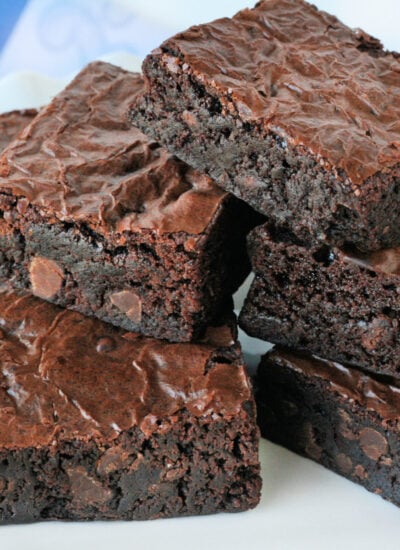
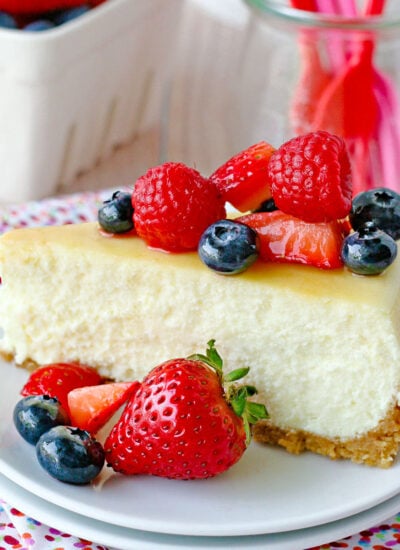
Most Popular Recipes
Check out some of our most popular recipes here at Glorious Treats! These are tried and true recipes with glowing reviews from readers.

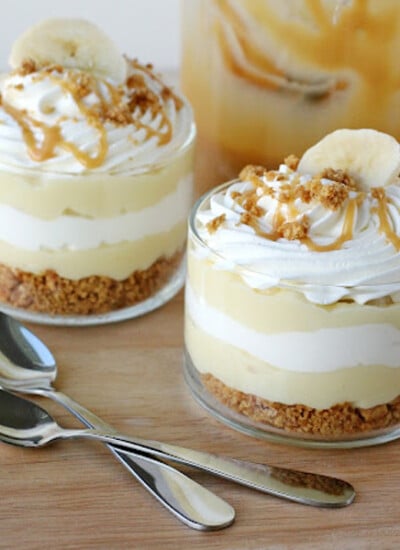
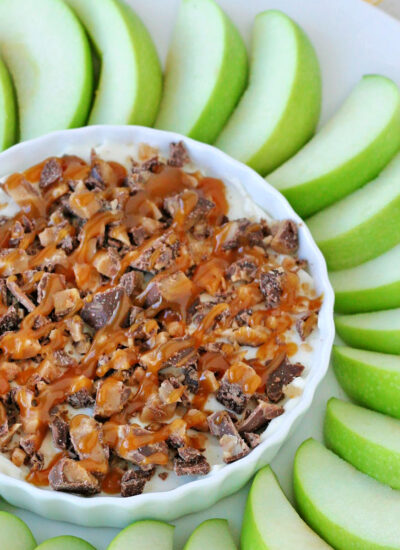
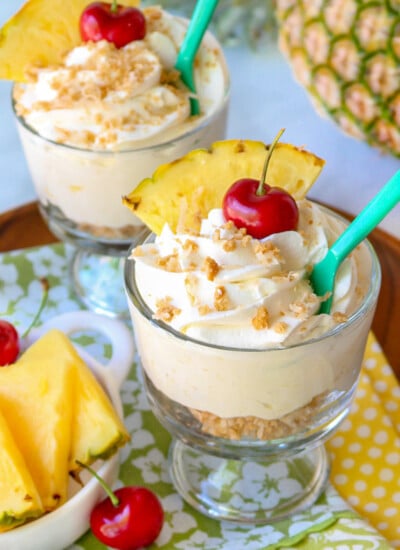
Quick and Easy
Short on time? We’ve got you covered! Check out our quick and easy desserts sure to be a crowd pleaser.