A truly perfect Vanilla Cupcake recipe! These Vanilla Cupcakes are easy to make, moist, and bake up beautifully every time! Light, fluffy and flavorful! Got the baking bug? Try my Lemon Cupcakes and Chocolate Cupcakes too!
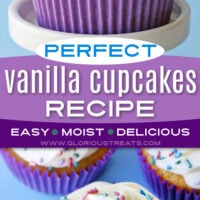
Perfect Vanilla Cupcakes Recipe
This week I’ve made 6 batches of vanilla cupcakes and a vanilla cake. I feel like my oven has been on for 42 hours straight! =) What are all these cupcakes for, you might ask. Well, for me… and for science, and for you too. Confused yet? I’ll explain…
I have been on a search for a perfect vanilla cupcake recipe for several years. I have tried Martha’s, Magnolia’s, Billy’s and Amy Sedaris’. I’ve read the Cake Bible from cover to cover (really!). I’ve googled until I can’t google anymore! Some of the recipes were good, just not perfect. I’ve considered just giving up… maybe my expectations were to high. I wanted a vanilla cupcake recipe that was as light and fluffy as a box mix, but without all the funny chemicals. I wanted a cupcake that was flavorful and moist. And I wanted it to be almost as easy to make from scratch as from a box.
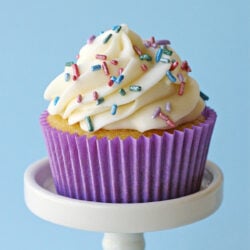
The BEST Vanilla Cupcakes
This week, I wasn’t going to stop until I found what I was looking for. So I baked and baked… then went to the store for more butter and sugar, and baked some more! I tried recipes with butter, oil, or some of both… recipes with milk, buttermilk, or sour cream… 1 egg, 2 eggs, 5 eggs… baking powder, baking soda… bake at 350*, bake at 325*…
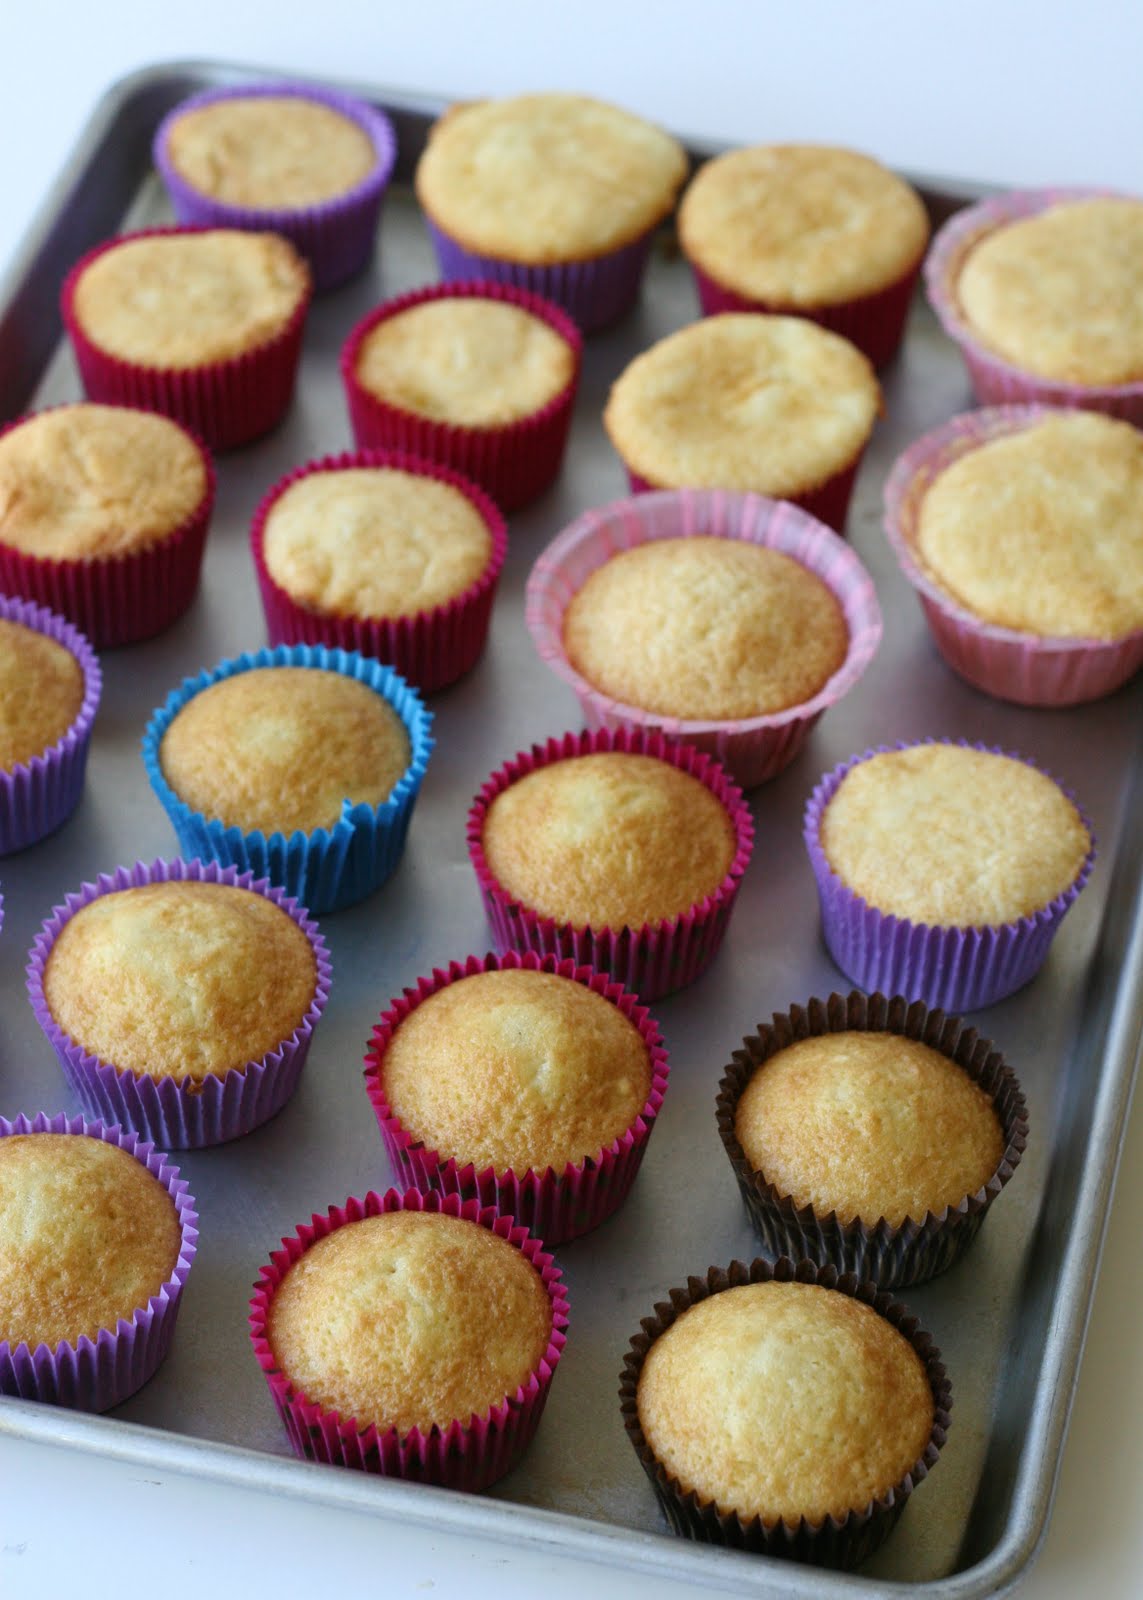
I made cupcakes that were lopsided, over-flowing, over-baked, and just plain ugly…

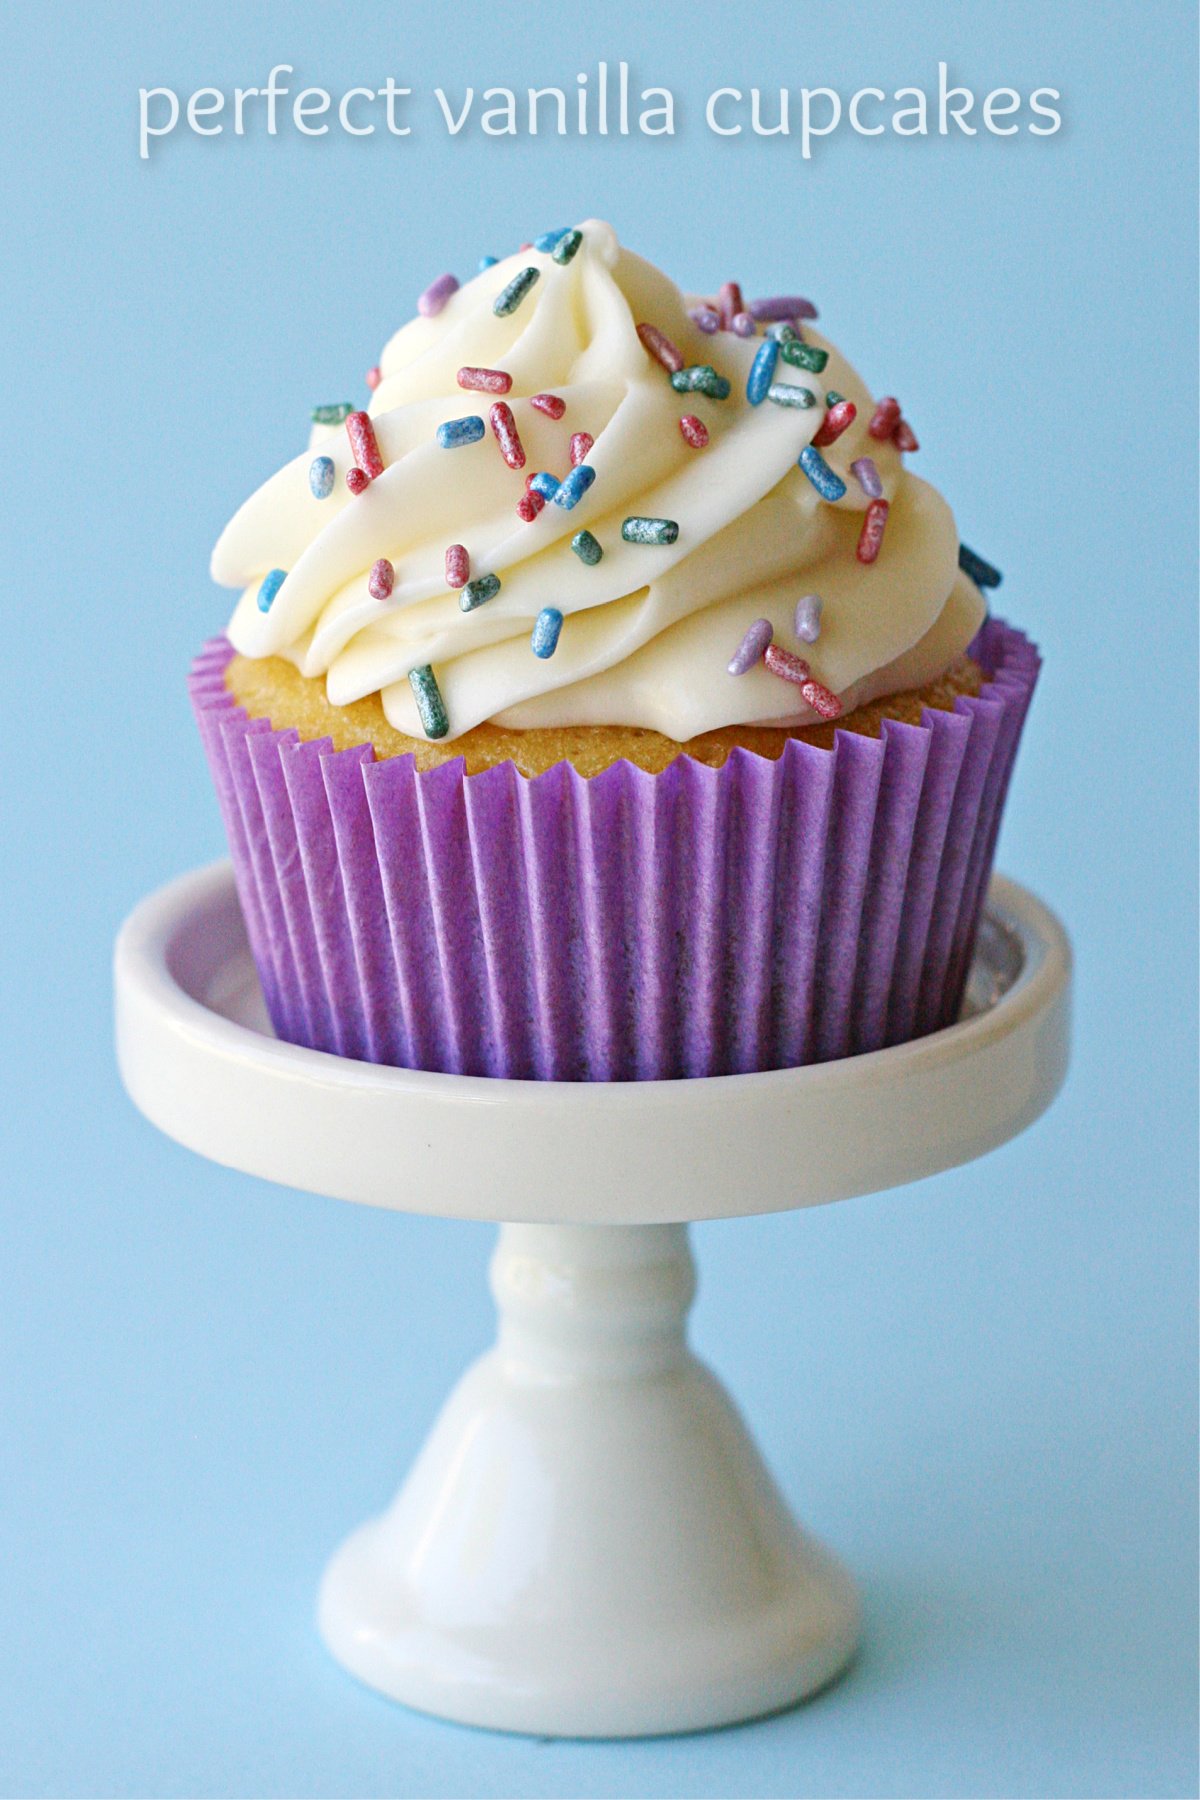
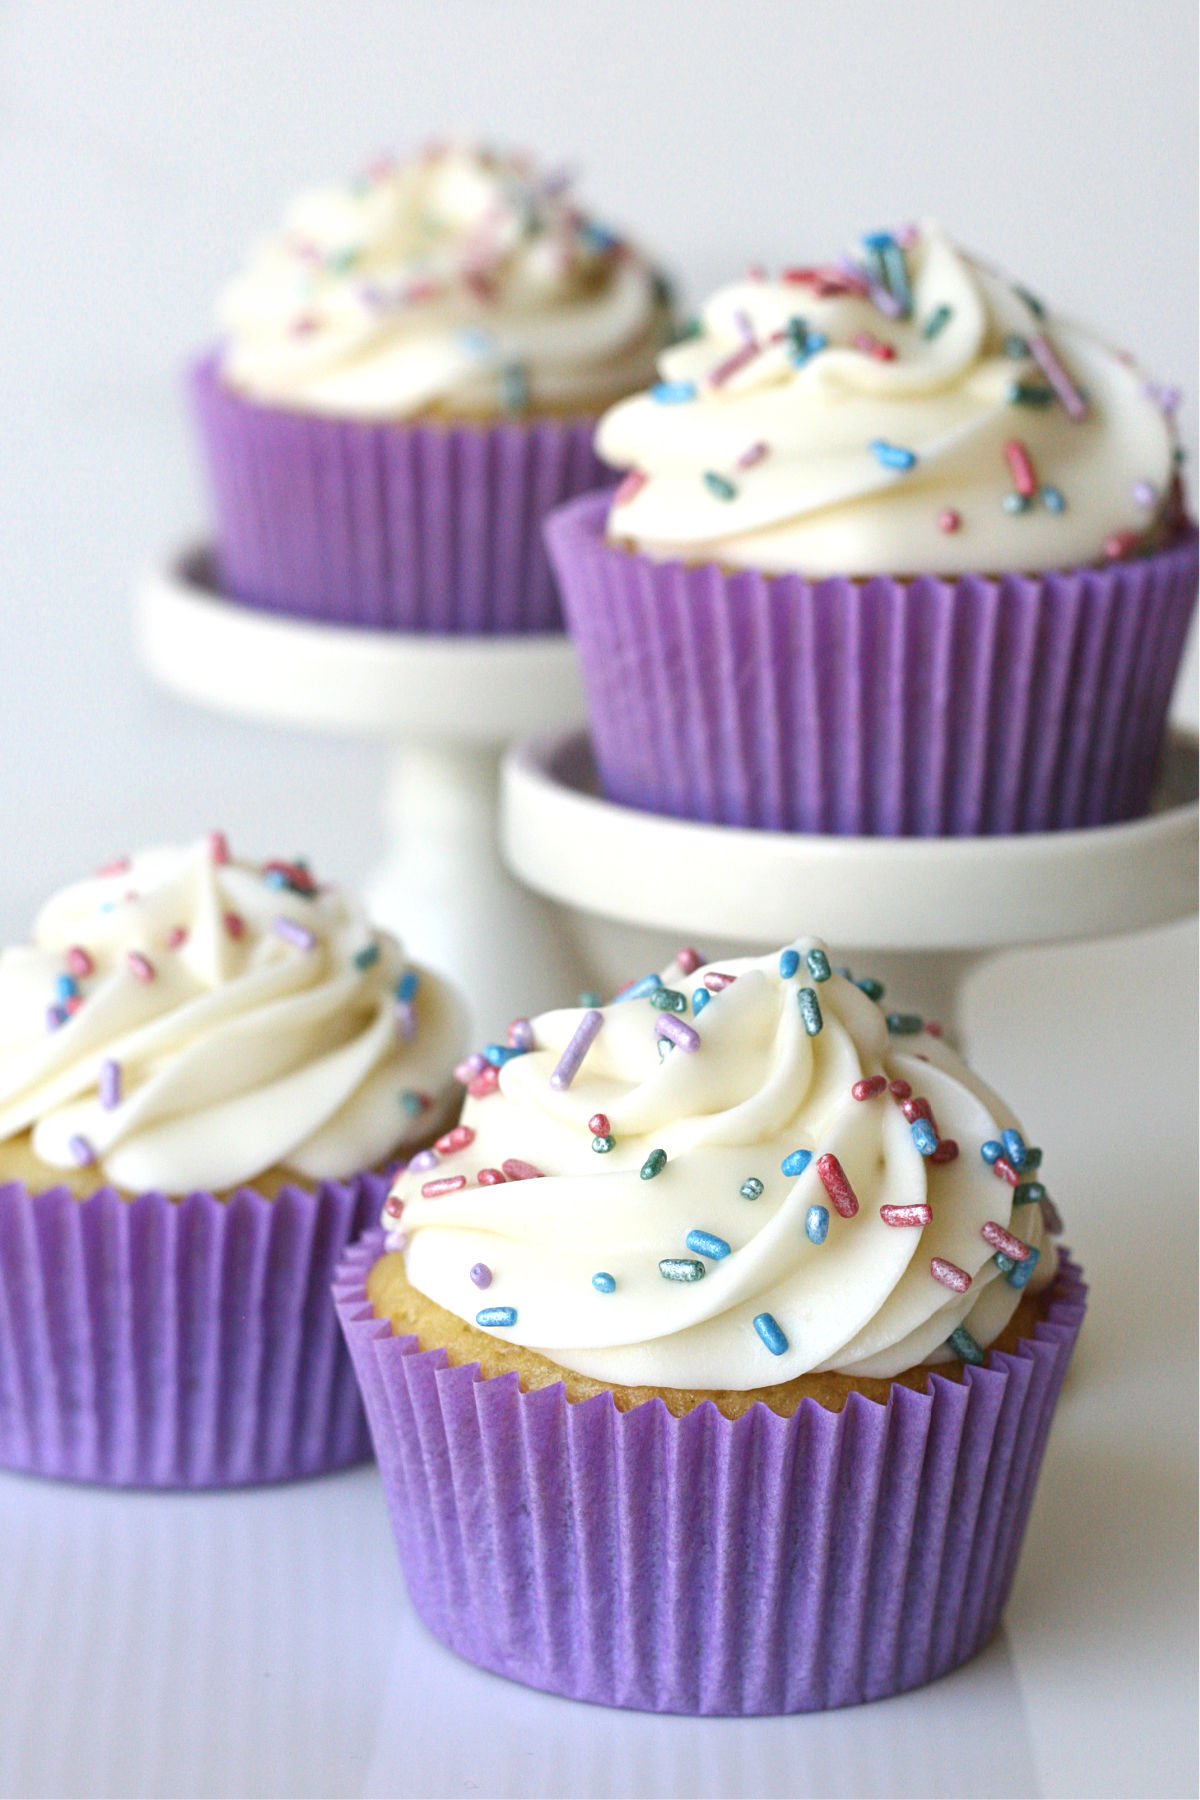
And then I made these…


They looked beautiful and tasted perfect, so I double checked all my notes to make sure I could remember what I put in them… then I made another batch to make sure it was THE ONE.

They were just as perfect!! I think I heard angels singing….
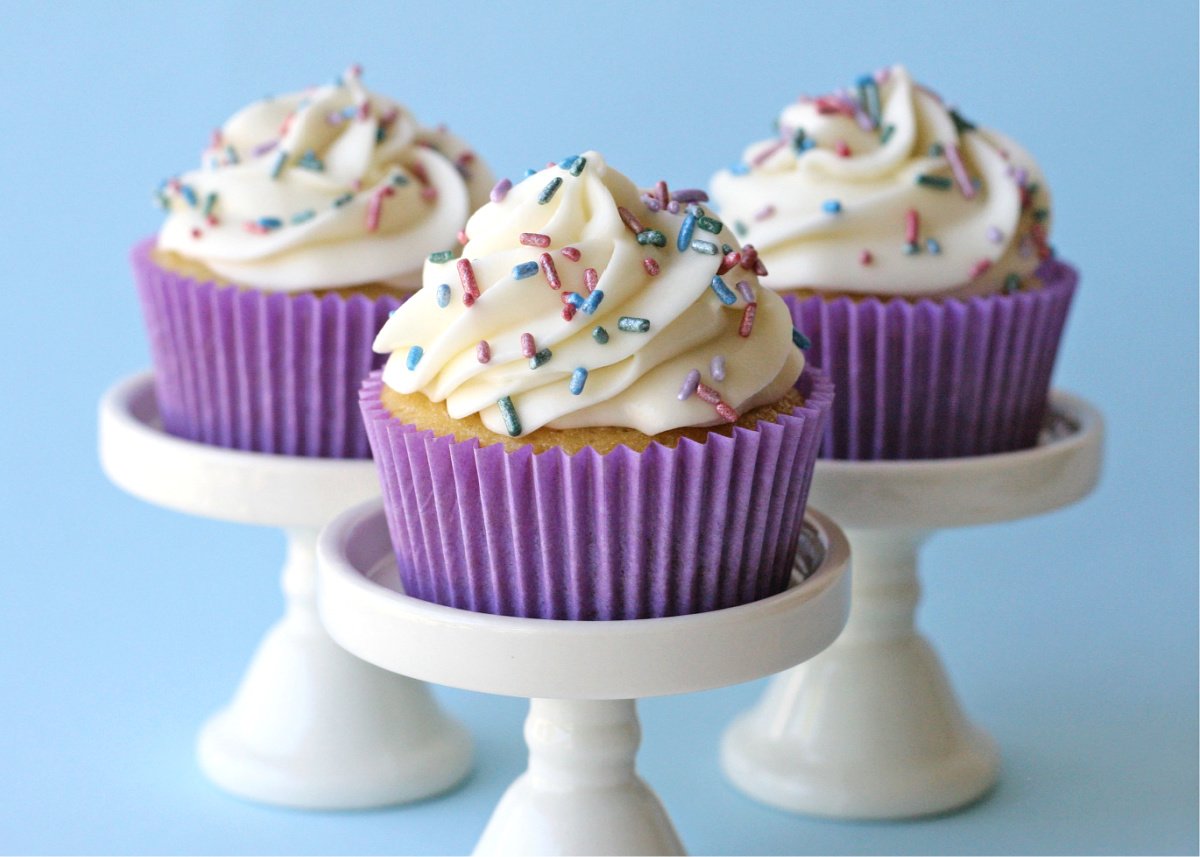
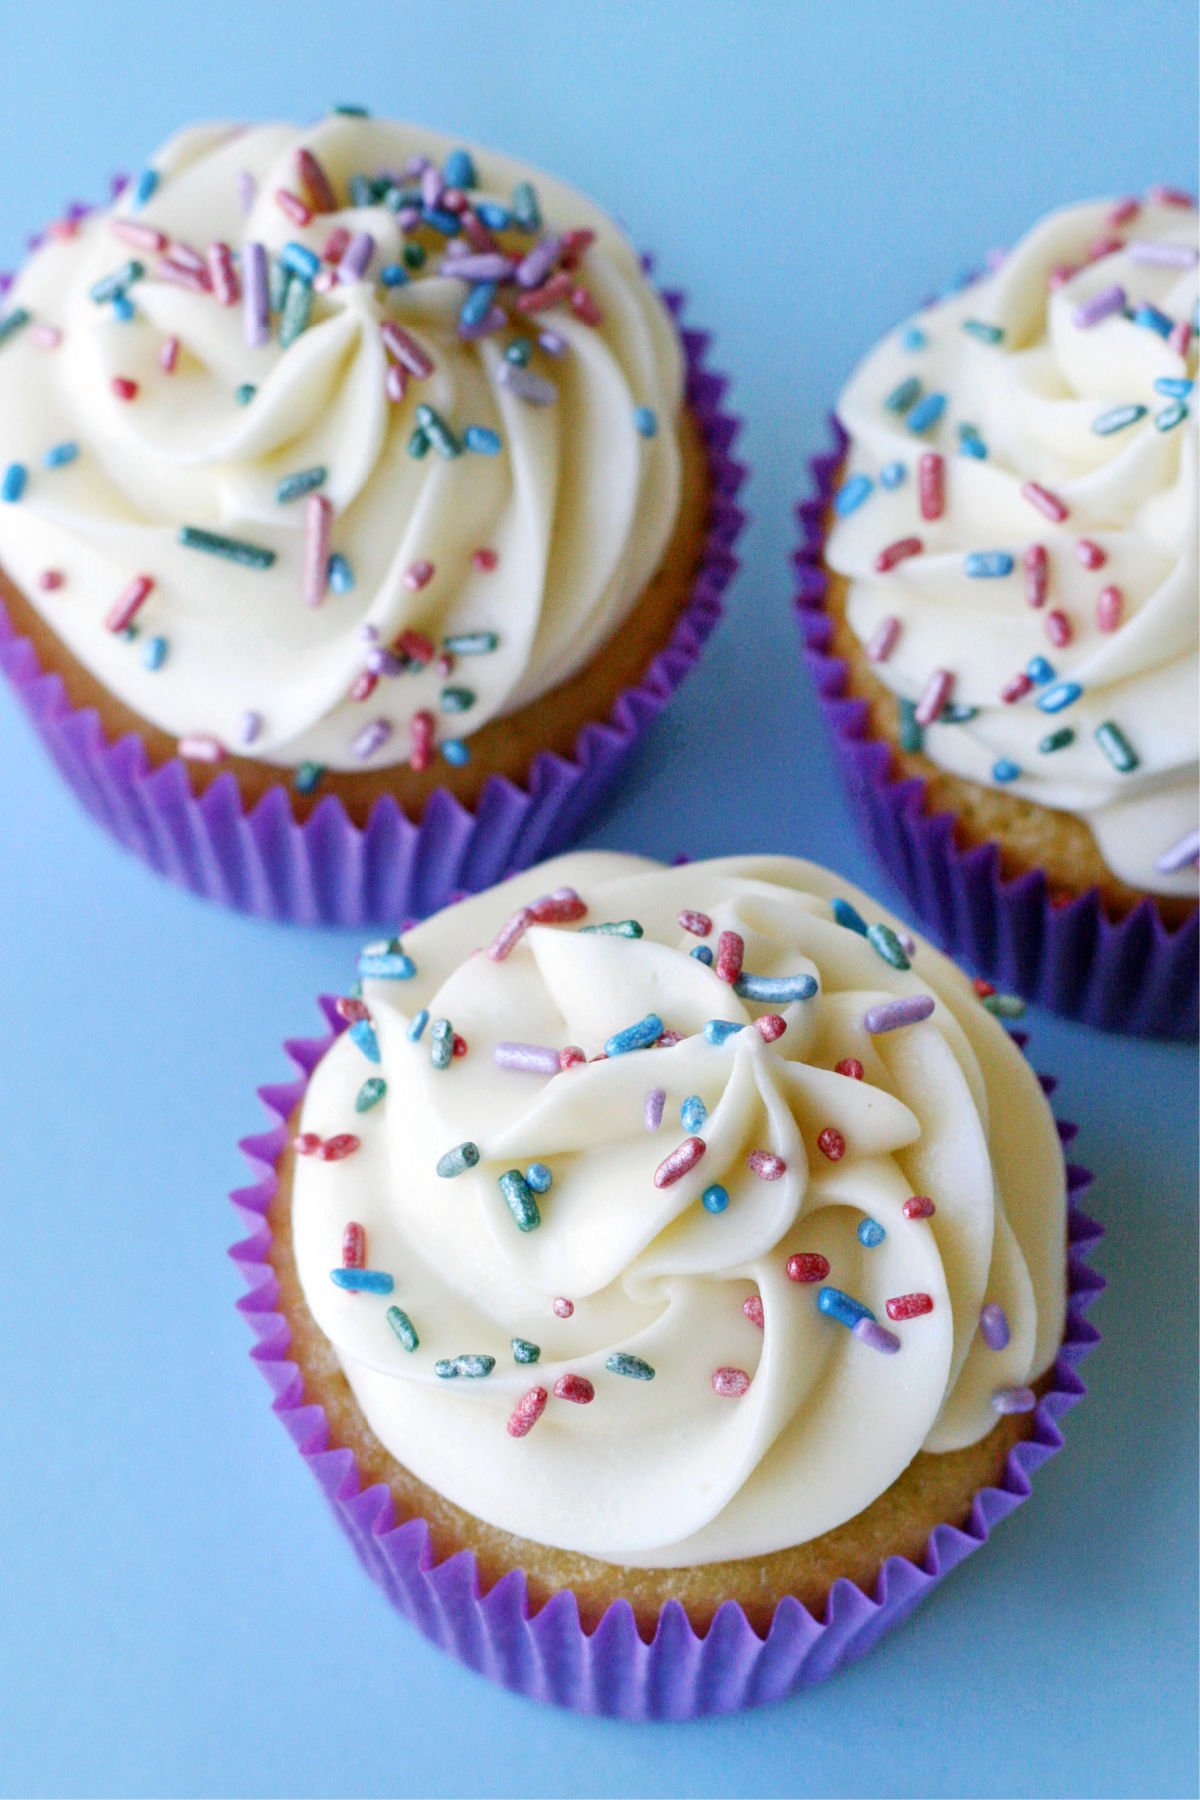
I am SO happy to share the results of my many experiments! These cupcakes were absolutely delicious and I look forward to making them again and again. Now certainly, peoples tastes and preferences vary greatly. I love these, my husband (my #1 taste tester) loves them, and I hope many of you will too. As with any recipe, it is very important to use the best quality ingredients you can.
Ingredients Needed
You will notice the recipe calls for cake flour, which is a bit more expensive than all-purpose flour, but I have found it is essential to produce the light and fluffy texture I was looking for. Also, the recipe uses oil instead of butter. I realized most cupcake recipes (from scratch) call for butter, and yet box mixes (which have the texture I was looking for) are baked using oil.
I was concerned that using only oil would leave the cupcakes without adequate flavor, but I found that with good quality vanilla, these cupcakes are delicious and flavorful.
- 1 1/4 cups cake flour
- 3/4 teaspoons baking powder
- 1/2 teaspoon baking soda
- 1/2 teaspoon salt
- 2 eggs
- 1 cup sugar
- 1 1/2 teaspoons pure vanilla extract
- 1/2 cup oil (vegetable, canola or extra light olive oil)
- 1/3 cup milk (whole or low fat, but avoid fat free)
- 1/3 cup sour cream (full fat or light, but avoid fat free)
How To Make Vanilla Cupcakes
- Preheat oven to 350*F.
- In a medium bowl, add cake flour, baking powder, baking soda and salt. Stir together with whisk, and set aside.
- In the bowl of an electric mixer, add eggs and beat 10-20 seconds. Add sugar and continue to beat on medium speed about 30 seconds. Add vanilla and oil, beat.
- Reduce mixer speed to low and slowly add about half of the flour mixture. Add the milk, then the rest of the flour and the sour cream. Beat until just combined. Scrap down the side of the bowl.
- The batter will be thin. Pour batter into a muffin pan prepared with paper liners. Fill liners about 2/3 full.
- Bake cupcakes in pre-heated oven for 12-14 minutes.
- Cool in pan 1-2 minutes, then remove cupcakes from pan (carefully) and finish cooling on a wire rack.
- Frost as desired when fully cool. I love to use my favorite Vanilla Cream Cheese Frosting recipe.
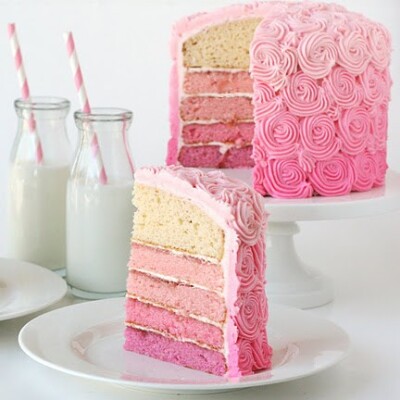
- Feel free to use this recipe for a cake as well. The recipe above will work for a 6″ cake. Double the recipe for an 8″ or 9″ cake.
* A note about Cake Flour- Cake Flour has a lower protein content than traditional all-purpose flour, which results in a more tender, delicate crumb in the finished product. If you can not find or access cake flour, feel free to substitute as necessary, but your results will vary from the original recipe.
RECIPE UPDATES
I have made this recipe many times with success, but in an effort to always be improving (even great recipes) I’ve made a couple small updates to this recipe (which are now listed in the recipe card).
My original recipe included 1 1/4 tsp. baking powder (now reduced to 3/4), 3/4 cup sugar (now increased to 1 cup) and 1/2 cup buttermilk (now updated to 1/3 cup milk, 1/3 cup sour cream).
Check out all of my cupcake recipes here!
Make sure to follow along on Instagram, Facebook, and Pinterest!
More Cupcake Recipes
How To Make Vanilla Cupcakes
Perfect Vanilla Cupcakes
Ingredients
- 1 1/4 cups cake flour
- 3/4 teaspoons baking powder
- 1/2 teaspoon baking soda
- 1/2 teaspoon salt
- 2 eggs
- 1 cup sugar
- 1 1/2 teaspoons pure vanilla extract
- 1/2 cup oil vegetable, canola or extra light olive oil
- 1/3 cup milk whole or low fat, but avoid fat free
- 1/3 cup sour cream full fat or light, but avoid fat free
Instructions
- Preheat oven to 350*F.
- In a medium bowl, add cake flour, baking powder, baking soda and salt. Stir together with whisk, and set aside.
- In the bowl of an electric mixer, add eggs and beat 10-20 seconds. Add sugar and continue to beat on medium speed about 30 seconds. Add vanilla and oil, beat.
- Reduce mixer speed to low and slowly add about half of the flour mixture. Add the milk, then the rest of the flour and the sour cream. Beat until just combined. Scrap down the side of the bowl.
- The batter will be thin. Pour batter into a muffin pan prepared with paper liners. Fill liners about 2/3 full.
- Bake cupcakes in pre-heated oven for 12-14 minutes.
- Cool in pan 1-2 minutes, then remove cupcakes from pan (carefully) and finish cooling on a wire rack.
- Frost as desired when fully cool. I love to use my favorite cream cheese frosting or buttercream frosting with these cupcakes.
Hey! I’ll be baking these today but may I know what type of sugar is used?
Thank you so very much for sharing this recipe! I’ve made it a couple times over now and they ALWAYS ALWAYS come out the same exact perfect way!
Yummyyy!! I tried these yesterday and they turned out absolutely PERFECT!!! I’ve tried different recipes, but this one I would really call PERFECT!! What made me happier is that my husband loved them! I topped it off with some dreamwhip frosting and some colored sugar! 🙂 Thankyou for sharing this wonderful, perfect recipe! Will try more of your recipes and let you know!
LOVE this recipe just made a batch of chocolate chip vanilla cupcakes for our children today using this recipe. We are also Gluten Free and I used our GF flour without any issues they turned out perfect. Thank you for a wonderful recipe!
I have just finished baking these cup cakes exactly as you’ve instructed and…… they are the best cupcakes I have ever had! The consistency of the bread is wonderfully fluffy and tasty. I am so thankful for your recipe 🙂
Can I use normal oil like sunflower seed oil too?
Hi Nithya,
Yes, any light flavored oil would work fine.
Happy baking!
I tried this recipe today. My cupcakes came out excellent. This recipe is a keeper!!!!
Hi, was so glad to come across this recipe, i got hold of some cake flour direct from the mill and some buttermilk to make sure i got it right, when i did bake them they seemed a little dense and didnt rise very evenly, i have been out and bought a ice cream scoop to distribute the batter evenly to make sure they all cook the same, would a fan oven make a difference to the cooking time or temp? Look forward to hearing from you
Mnay Thanks, Jordan
Hi Jordan,
I would not suggest using a fan or convection baking for this recipe (or any cupcakes). The blowing air can disturb the delicate cake as it’s trying to rise.
I tried this Recipe it turned out Greatttt! Will make these again ..thanks for sharing
I’ve been thinking of using this recipe for a 21st birthday giant cupcake, so did a test run yesterday using a six egg mix. I used the Eddingtons twin mould which is very similar size-wise to the Wilton twin mould.
This being my first time to use the mould, I decided to try a staggered method of baking the two sections. I’ve read lots of comments about this pesky double mould so tried using a combination of various suggestions I’ve come across … with somewhat mixed results !
Since I always find reading comments extremely helpful, it seems only fair that I should share the results of my test.
Just a note about the oven (they vary !). Mine is a gas oven, but I check it every so often with an oven thermometer. Consequently, the temps I’m quoting should be pretty accurate.
Set oven to 180 C … centre shelf used throughout.
Placed twin mould on top of upside-down cooling rack (to make moving it easier).
Placed cone section inside a 4.50cm / 1.75in deep metal dish.
Lightly oiled base section and placed circle of greaseproof in bottom.
Made batter and coloured it pink using SugarFlair red paste colouring.
Filled base section to within 1 inch from the top.
Baked at 180 C for 20 mins.
Removed from oven.
Filled metal dish with boiling water.
Lightly oiled top conical section.
Filled top section to last spiral (about 3/4 inch from top).
Base was browning too fast so reduced oven to 170 C.
Baked for 17 mins.
Base section still browning too fast, so covered with brown paper.
Baked for a further 20 mins.
Removed from oven … brown paper stuck to risen top of base, so replaced with foil.
Turned mould around and baked for a further 26 mins (at which point skewer in base came out clean).
Both sections rose well, but neither of them completely filled the mould. Each was short by about half an inch.
Left to cool for 10-15 mins, then unmoulded.
Unmoulding was quite tricky and both sections needed to be carefully eased from the sides with a small, flexible silicone spatula.
Both sections very brown … but not crusty or burnt.
Base section cooked fine.
Cone section not quite so successful … most of it was fine but the last inch or so in the pointy bit was still raw batter. I think the combination of too-deep water plus the thickness of the metal dish prevented sufficient heat from getting through. In retrospect, it might have been better not to have used the water bath at all when using a staggered baking method.
There was enough batter left over to make 16 fairy cakes (much like cupcakes, but quite a bit smaller so, perhaps, the equivalent of about 9-10 cupcakes ?)
These are my conclusions from the test :
Use upside-cooling tray to support the mould … it won’t prevent the heat from getting through and definitely makes it easier to move.
Cook the base, separately, at 170 C for 75 – 85 mins.
Cook the top, separately, at 170 C for about 60 – 70 mins (without water bath).
Turn the cake at roughly the half-way mark and be prepared to place brown paper or a dome of foil over the top if it’s over-browning.
I think staggered cooking probably works … but not worth the risk when there’s a deadline !
Using a cake wire, I cut the base section into four rounds, the last of which was the inch or so “risen” section (so discarded). That left me with three flat rounds to sandwich together.
I then cut the conical section into three rounds, the last of which was the 1/2 inch or so risen section (so discarded). In theory that should have left me with a flat and a conical top round to sandwich on top of the three base rounds. Since the pointed part of my conical section hadn’t cooked … this time around I ended up with only half a cupcake top. Which just goes to prove that it pays to do a practice run !
I sandwiched everything together with buttercream. The cake, being moist, had cut extremely cleanly and there were little or no crumbs to cause any bother when spreading the filling.
Even cut and sandwiched back together again, the final cake still retained a well-defined fluted side. In fact, the recipe produced a well-nigh perfect finish for anyone wanting to serve the cake with bare sides. If cutting and sandwiching, you just need to take your time lining up each section and easing it into the correct position.
For the final cake I’ve been asked to sandwich it with fresh cream and rasberry jam and finish off the top with a piped buttercream topping. Being a 21st I’m planning on using a festive wrapper, but it’s nice to know that the cake will still look good when the wrapper is removed ready for cutting.
Incidentally, the colouring was only partially successful. Throughout the centre there was a 2-3 inch core of pink. However, as it approached the edge it disappeared and the edge itself was a 1/4 inch ring of deep brown. Not a surprising result considering the length of the baking time. As it happens, it looks quite pretty when cut, so worth doing.
And finally — and most important of all — it tastes just as good as it looks. Light, wonderfully moist and plenty of flavour.
Thank you so much for sharing this recipe. I like it very much and am delighted to discover that it will work equally successfully as a Giant cupcake. My apologies for the length of this comment, but I hope my results may help others who might like to try their hand at something similar.